I want to share with you all how I make a modified log cabin diamond with very little frustration and stuffiness...
I have looked at these design in quilt books and honestly, the patterns people come up with make me want to stab my eyes out with my scissors.
People have made this SO complicated and I'm not exactly sure why.
I want you to quilt!
I want you to be just as happy with the process as you are with the finished product!
People have made this SO complicated and I'm not exactly sure why.
I want you to quilt!
I want you to be just as happy with the process as you are with the finished product!
Ok, enough is enough...let's get to the tutorial... :)
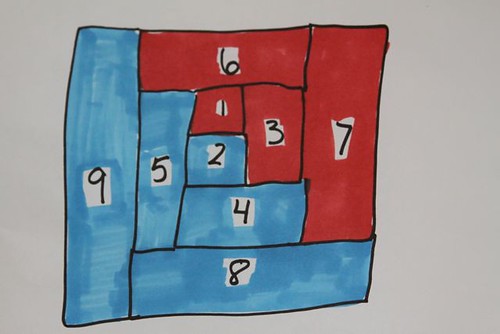
First of all I figure out what size I want my finished square to be. In this case I chose a 6 1/2" square which is a nice size to work with.
Then I figure out how many strips I will need to fill in this square, which is 9 in this case.
Then I eyeball the size of the strips I have drawn and make them a bit bigger and start cutting! No measuring.
Don't do it.
There is NO need and you will see why soon enough.
Don't do it.
There is NO need and you will see why soon enough.
It may take you a few tries to get the hang of this so don't cut a zillion strips until you're sure that you have a handle on approx how wide they should be.
Seriously. Do some test runs...
Ok so now you're on the right track and you know what you're working with.
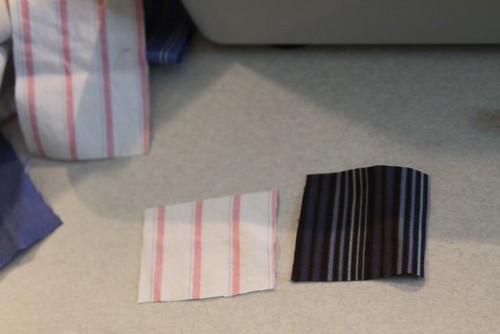
Cut two squares just like #1 and #2 in my diagram.
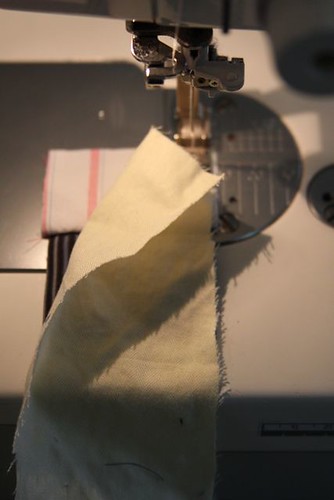
Lay them together and sew.
Don't pin them. That is 10 seconds of your life you have wasted and will never get back.
Then follow the diagram in sequence and sew on the lights and darks. I made the lights the red color and the darks the blue on the diagram. Maybe you should choose a light and dark color to represent your colors on your diagram... that would be a good idea. :)
Then lay a strip on your two squares (follow your diagram!) and sew!
Grab your scissors and cut.
And repeat. And repeat. And again. Follow your drawing and go around
in a circle until you have sewn all your strips.
in a circle until you have sewn all your strips.
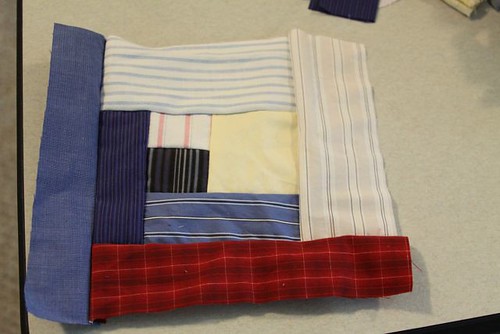
Here is the square before it is ironed.
Looks crazy but hold on...
Looks crazy but hold on...
Iron it flat, on the top.
Don't even attempt to iron your seams open, there is no need for that kind of behavior.
Top ironing is just as good as steaming open your seams, I promise.
Ooh la la! Check out how lovely it looks after ironing!
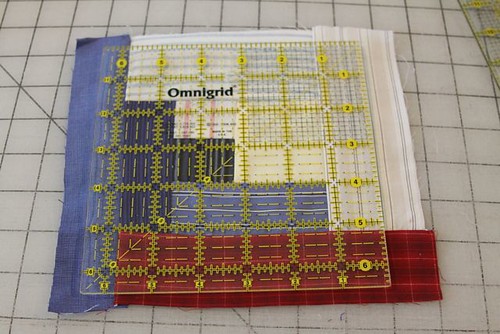
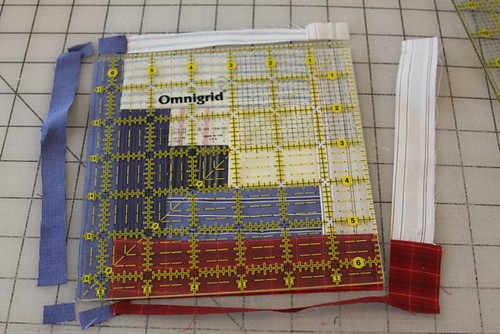
Next lay your template square over your quilt square and line it up.
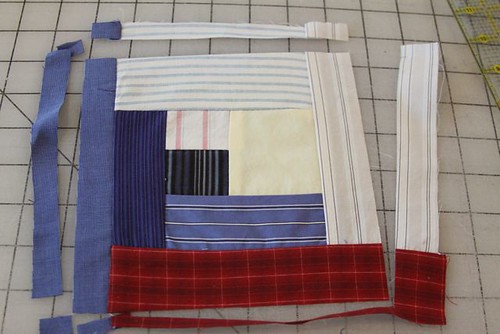
Cut around the perimeter of your square, holding the template tight and very still...
Remove the excess fabric to reveal your darling gem of a square!!
Ta Daa!! Now that's a good looking square...
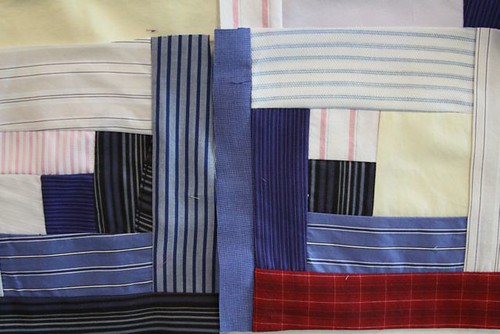
Put it up on your design wall with the others and step back to admire your work...
Here is a portion of this quilt up on my design wall. Of course it will be sewn together, then I'll add a border then I will have it top quilted.
I hope this helps you discover a new way of making this design and maybe energizes you to think outside of the box and do whatever the hell you want to with your quilts.
Be a quilt rebel!
I'll post some pics when this beauty is completely finished!!
Thanks for checking it out. :)


