
Here is my tutorial to my "Joyal Square #22".
I have decided that instead of making cutsey names for my squares, I will just number them.
Sounds good to me!
Now, why do you want to make this square?
It is EASY, FAST and you can make any sort of variation that you'd like!
There are no "measurements" so it's a
no fuss no muss
way to make a super cool looking square!
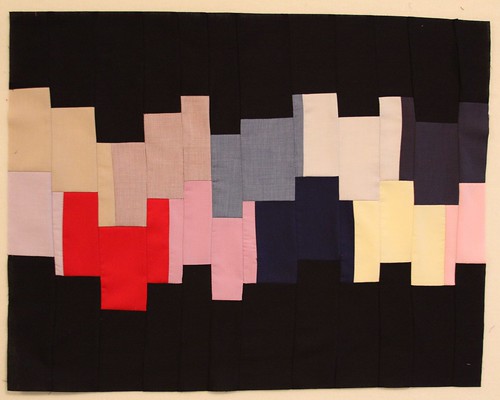
So here is a pic of the finished design which can have any sort of variation added on.
The possibilities are endless!
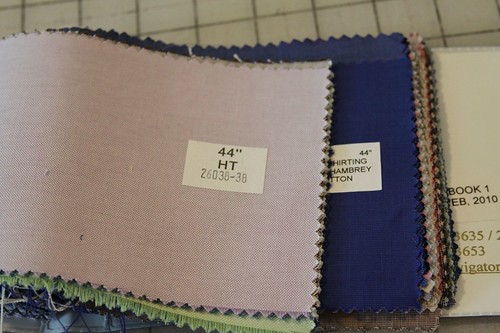
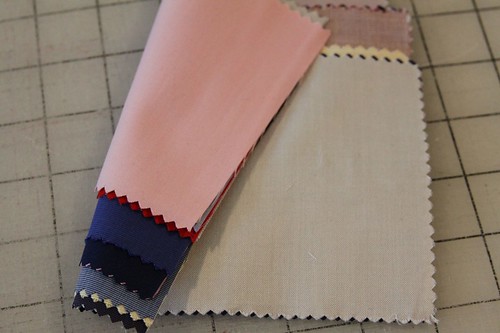
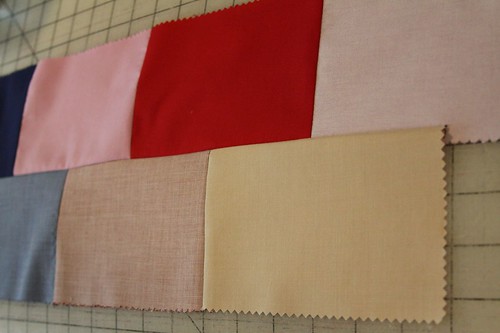
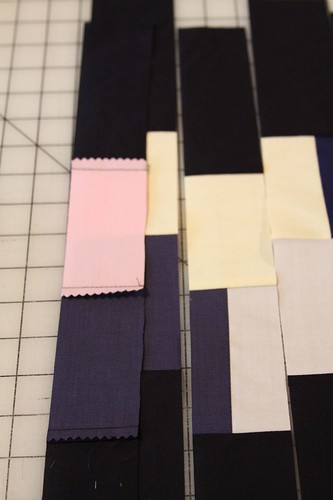
I have some recycled fabric samples from a suit maker that I will use for this project.
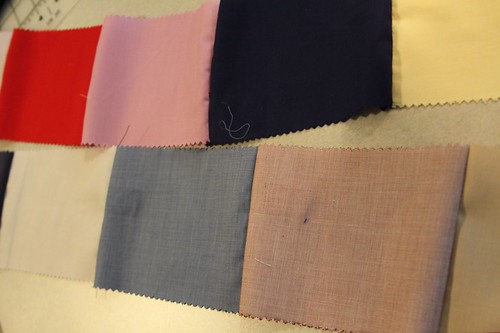
Then I sew some of the rectangles together, front to front, no pinning necessary.

Then make a couple strips...
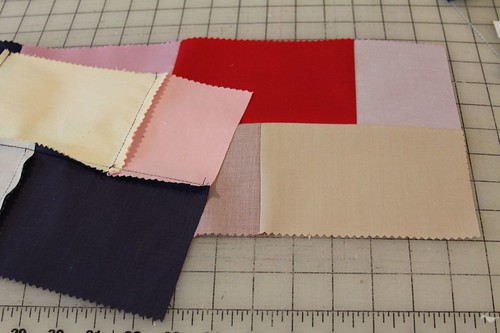
Sew the strips together.
I like to make them off center so it adds more interest when all sewn together but
you can do any variation you want.
You can even use strips of different colors instead of rectangles!
Then I iron it FLAT.
I don't press open my seams, it's much easier to iron it flat. :)
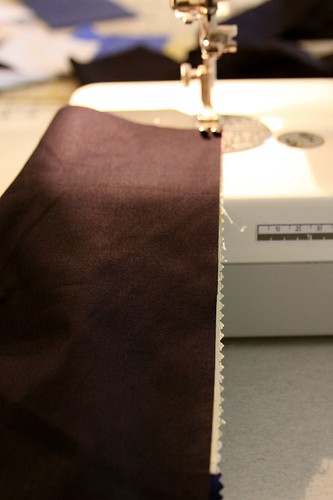
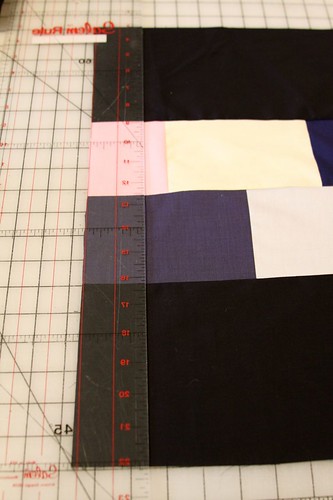
Cut two long strips of one solid color, I chose navy blue.
I then attach the strips to both sides of my colored patchwork strips.
Face to face and sew it together.
Iron it flat!
Square up the entire block so that it is even on all sides...
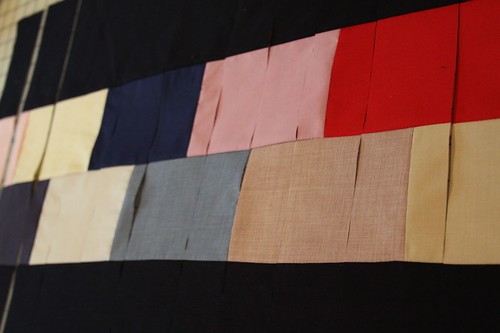
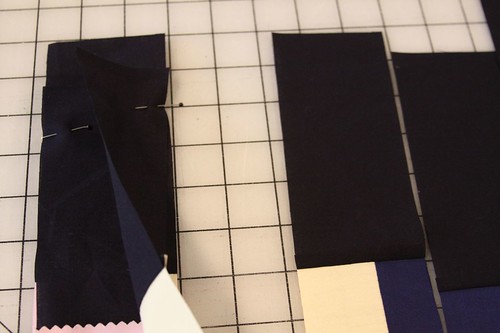
Now cut strips! I make them all sorts of thicknesses.
You do NOT have to be precise or measure them all the same.

Here is the entire piece cut into strips...
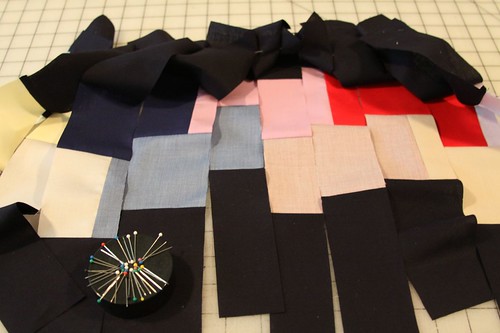
Then you have to pull different pieces to different lengths...
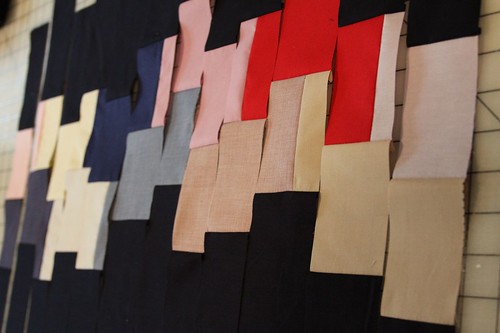
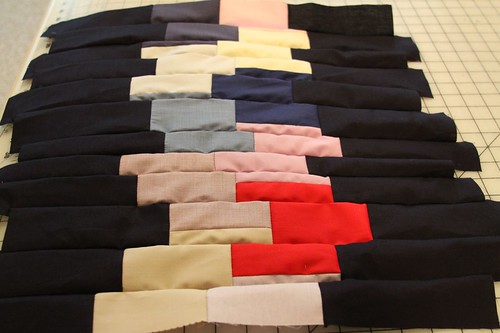
Lay the first strip on the second, face to face.
Put a pin (just one) in the top to attach it.
Repeat this the entire way down making sure you keep the length variations!
You can see you keep the pieces pinned as they are placed on your table...
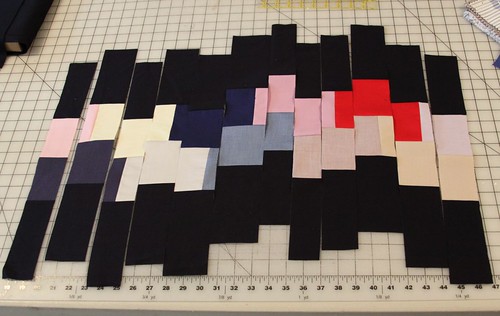
Here is a pic of the entire piece pinned...
Bring to the machine and sew the strips!
Make sure you don't get the other strips stuck up underneath though.

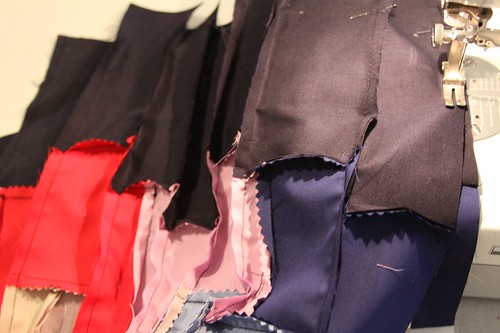
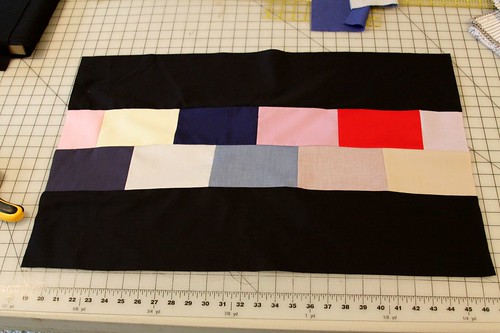
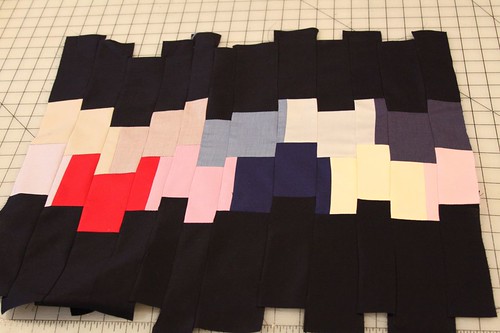
Here is the piece sewn together but not yet ironed...
Here it is ironed!!
Taa daa!!
It's purdy!
Now square it up and you're done!
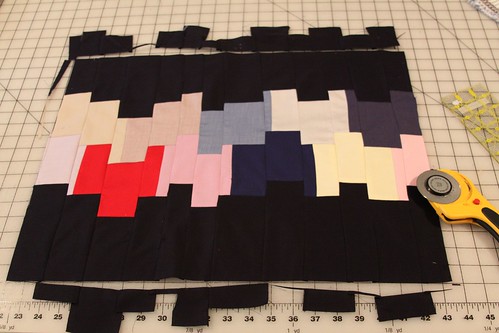
OOH LA LA!!!
Here is the same design in a different fabric choice...
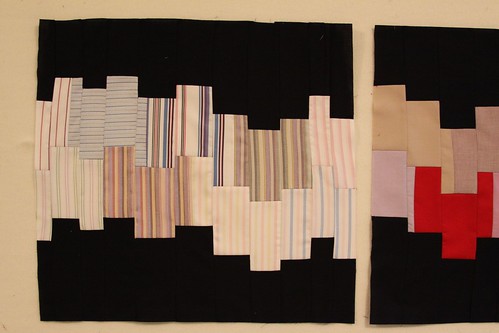
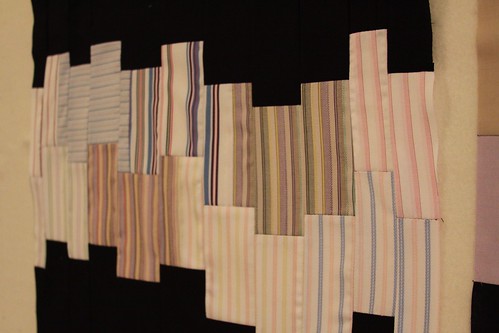
You can see from this tutorial how EASY this square really is!
The best part is that every time you make this square it'll be different!
Use different colors for a cool variation as well.
I hope this helps and I'd love to see your finished pics of your interpretation of this design
and I'll post them on my blog!!
and I'll post them on my blog!!
Email me at alix (at) mamakamills (dot) com!